At The start of last year we
visited our friend Matt Grimmitt at Winchcombe Pottery,
Matt gave us a tour of the pottery
it was a real eye opener for us.
One of the main things that has sat in my head since then
was Ray Finch's wheel.

It has a wedging bench attached to the back of it
and it struck me that this is a great idea.
So one year on and now in the middle of re-planning
the layout of our workshop I have decided to make my own version.

So here is a step by step guide.

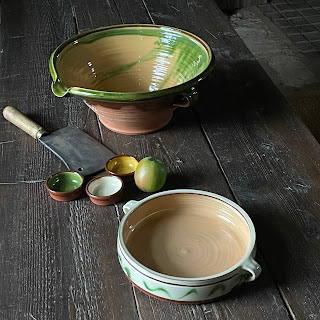
This is my Wheel above
and here below is a 3ft x4ft table I brought from ebay
locally for £30.
First of all Marion sanded down the top for me to get rid
of all the varnish,

then I set about cutting it, not in half but just a bit more.

"Oh My god he's cut a decent table in half"
I hear you cry!
Do not be alarmed I have a cunning plan.

First I had to remove the on off switch which was fitted
to the bit I want to take off,

then offer up the table to the back of the wheel

and mark the bit to be cut,
at this point I removed the shelf and cut the marked areas,

then I fixed the table to the wheel using these
angle brackets. ( I only used the two big ones )

The finished job and a new very sturdy wedging bench.

Part of my cunning plan was to use the other half of the table
as a draining board next to the sink,
no waste and two great jobs in one.

All part of the service from Barrington Pottery.
This year I hope to do more blogging than last year
but make sure they are of interest to potters
around the world.
Happy Potting Potters.


4 comments:
Talk about repurposing! This is a great idea! Looking forward to more posts about potters and pottery?
How is your weather keeping you?
I don't think I've ever seen so much rain over such a long period of time, but luckily it hasn't been too much of a problem for us, and the odd sunny day in between has been a bonus. not to cold either so far.
I know that wheel well and it is a great idea!
Oh Dear, now I may have to do some reconstruction.
Post a Comment